Tuesday, December 25, 2012

Rugs!


We are slowly adding the finishing details to our house project....rugs! jay got me one for Christmas, a round wool rug for the dining room and Judy and Michael brought us back a Silk on silk Oriental rug for the upstairs hallway.

Sunday, November 18, 2012

OMG!!!!!!

At approximately 5pm this evening, Jay installed the final piece of woodwork for the house project.


the last piece of the project
I am not sure if we are in shock or what, but we will need to celebrate! The only thing left to do is strip the paint off the interior door and restain it. That shouldn't be too hard. Perhaps we will work on it this weekend....oh wait...we are building shelves in the basement this weekend.....

Tuesday, November 13, 2012

First and hopefully LAST house project Injury

The vertical brown stripe is the sliver. This photo, courtesy of Dr. Braun and his Iphone.
So while helping Jay, I of course, got a piece of something in my eye. After 45 minutes of rinsing and flushing and even showering, I couldn't get it out. I caved and called the eye doctor. Luckily, this was on Monday and they were open. Told me to come right in. Turns out, I had an E shaped, 3 pronged piece of red oak embedded in a fold in my eyelid. Yay. It hurt.

Sunday, November 4, 2012

So close!

As soon as we (or Jay at this point in time) finishes painting our test wall, we can put up the final pieces of trim and we will be 95% finished with the house project. The final step is grouting the new tile Jay installed this morning in the front entrance area. We have to let the tile set for a couple days and then grout. We settled on the tile. I wanted this amazing Motawi Tileworks looking tile, but at $100 a square foot, we figured our budget didn't allow for it. We searched and searched, and couldn't agree, so thanks to Home Depot, we found a porcelain tile called Bengal Slate and settled on putting a pattern of 2x2 squares and 6x6 squares in the area. Came in under $400, so we were quite happy. All our other ideas were going to be in excess of $700, and that seemed ridiculous.


Enjoy the photos!

Sunday, October 28, 2012

Almost done!

We are so close! Luckily, the remaining items to complete are relatively simple- Trim!


So, here are some photos of the almost finished product!

Sunday, October 7, 2012

so busy.....

so there really are no good photos to post. we started staining the trim and it is all in the basement drying. the hardwood floors get refinished on Thursday this week. more photos later.

Monday, September 24, 2012

Better photos and back to Blogging


sorry for the delay....rosemary. Jay has had me so busy that I didn't even have time to charge the camera battery so I could take adequate photos. And they are merely adequate. I really need a new camera. We can see the light at the end of the tunnel. As I type, Jay is installing outlet covers in the dining room...and swearing mildly. 

ugly dining room with wall paper...stripped window though. sorry no pre-paint stripping photos.....

view from dining room to living room. beige beige beige. yuck yuck yuck


post wall paper removal....

nice new palladian or palladino (can't remember) blue!

top of stairs. ignore laundry basket.

check out new window nicely painted and beautifully trimmed

ah, the dining room.

the sundance yellow entry nook. will have a door in this space.....

look! real oak trim! stained early american by yours truly.

another view of dining room into kitchen and living room

Sunday, September 16, 2012

Color!


So we had a busy weekend.....The photos are not that great, but you might get the idea.Unfortunately, you really can't see what color the blue/green really is. It's called Palladian Blue. The yellow is brighter than we expected, but I love it. Jay built the shelf this afternoon too. It will be the same as the floors when the floors get refinished.

Sunday, September 2, 2012

Holy Crap! We have paint on the walls!

It's really just primer, but we are sssoooooooooo close!!!!


Jay priming walls....

Primed!

Primed!

Primed!

Primed!

Sunday, August 26, 2012

Almost there, but while we wait....


So Jay mudded and mudded some more this past weekend. I can't tell the difference between coats, so a  photo sure isn't going to show you anything either. Therefore, here are some photos of our new garbage can spot on the other side of the garage that we built together today. We did this while waiting for the mud to dry.

Thursday, August 9, 2012

toothsoap....and other things.

So I made my own toothsoap. With my hypothyroidism, excess fluoride might not be such a great idea.
Tom's toothpaste is ridiculously expensive, and I had all the ingredients to make toothsoap. First impression- it's soapy. Go figure. Not minty enough either, but my teeth feel clean. So, here is what I did:
I mixed 4 tablespoons of coconut oil, 2 tablespoons of olive oil, 1 tablespoon of baking soda, and 2 tablespoons of Dr. Bronner's peppermint castile soap. Then added a few drops of peppermint essential oil. Just dip brush and use.

Next time, less soap.
Stay tuned for my adventures in deodorant, laundry detergent, and dishwasher detergent.

Sunday, July 15, 2012

For Jordan.....

As I am now on a gluten free kick again, (for various health and dietary reasons, plus the sheer challenge of learning how to bake all over again), I decided to make my own coconut milk and coconut flour. Here are my food bloggy photos of the endeavor. I did this in between paint coats, going shopping at Old Navy, going out to Empire for lunch and Los Blancos, and painting chalkboard paint on my canisters (thanks for the idea Jordan- now that I have all these different flours and quinoa and amaranth, I needed a way to label things...no photos....go to http://the2seasons.com/2012/06/26/diy-chalkboard-kitchen-labels/ for the idea. I just painted right on the canisters....the labels might have been simpler). 


First, poke a hole in the coconut's eyes, drain water into your blender.

Next, get your husband's hammer from the basement, think about doing this on the kitchen counter, think twice, then head for the concrete driveway with freshly drained coconut, dish towel, and hammer. Smash coconut.

Return husband's hammer to basement so you don't leave it out like you usually do, get coconut out of husk.

Oops.....haven't taken hammer to basement yet......I will do that soon. I promise Jay!


Pour 2 cups of hot water into blender with coconut. blend.
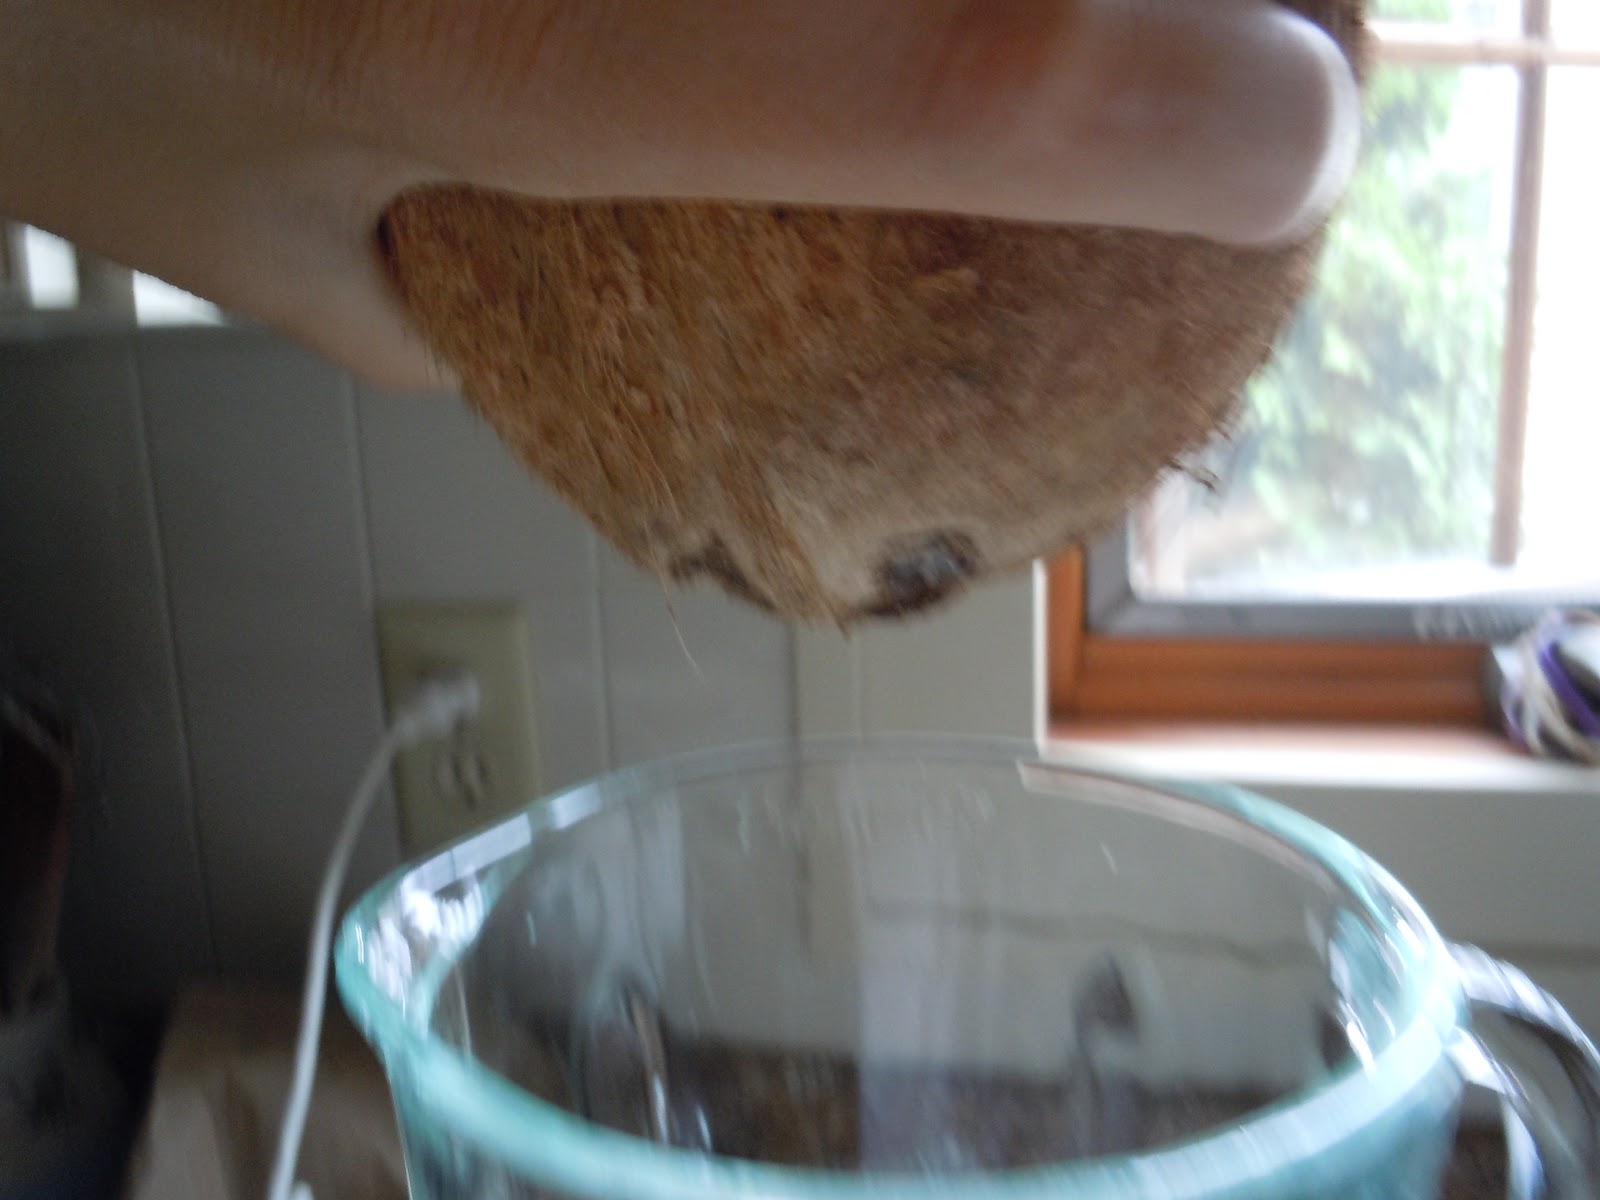
Strain.

I got about 4 cups....I added a little more water though.


damn camera..this is blurry. 

Remaining coconut pulp.

Put coconut in oven at 350 degrees.

Bake for about 10 minutes....didn't really brown up, try it anyways.

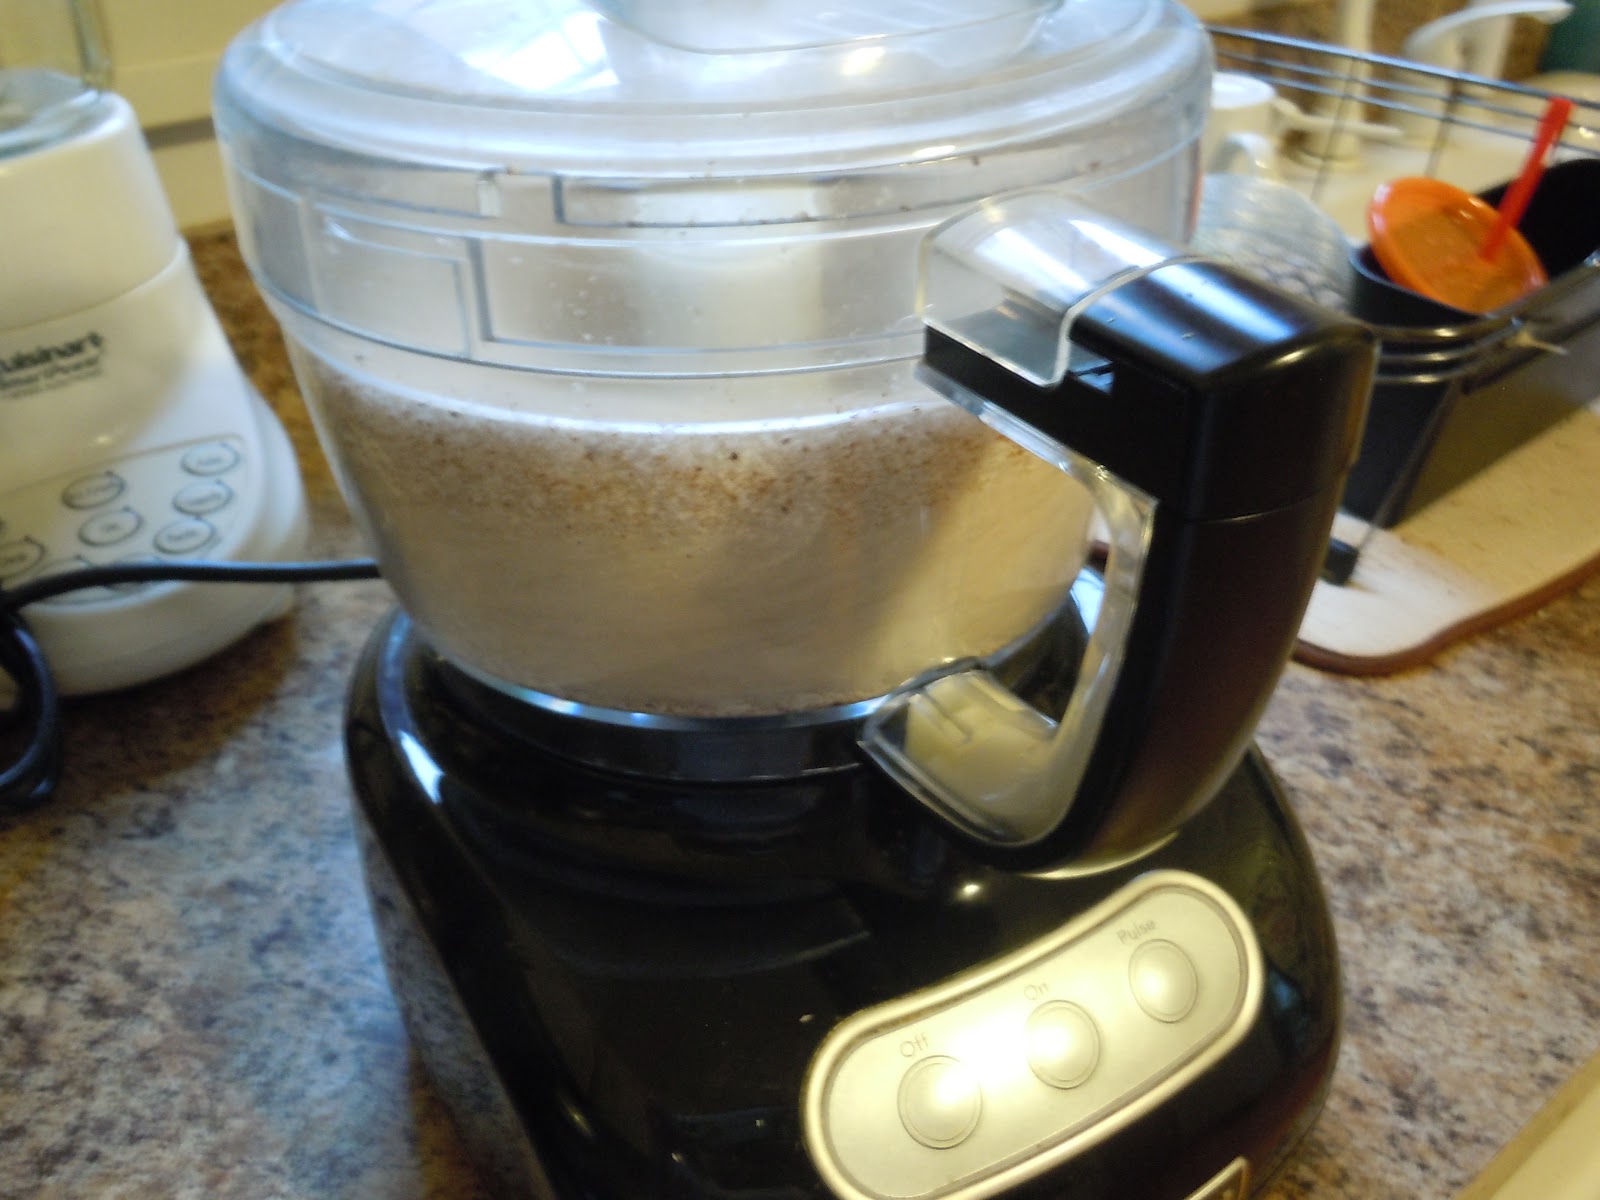
process toasted coconut in food processor.


not as fine as I would like, but I am going to give it a shot anyways. Next up, sometime this week, gluten free carrot cake cupcakes.

maybe about 2 cups for 1 coconut